It is easy to buy a camera first and think about the rest later. Then the camera sits at the edge of the Wi-Fi, watches a tree that moves in every breeze, and sends fifty alerts a day until someone turns notifications off. A camera nobody trusts protects nothing.
A better approach is to plan the setup on paper before you spend anything. This guide walks through that plan for homeowners, renters, landlords and DIYers, in new houses and older ones alike.
Step 1: Decide what you actually want to know
"Security" is too vague to shop for. Write down the one or two questions you want answered:
- Who is at the front door right now?
- Did a package arrive, and did anyone take it?
- Is anyone entering the back or side of the property?
- Is my empty rental, vacation home or garage okay?
Each question points to a spot. Camera count follows from your answers, not from the size of the starter kit on the shelf.
Step 2: Cover the entry points first
Start with the doors people really use, then work outward.
Front door
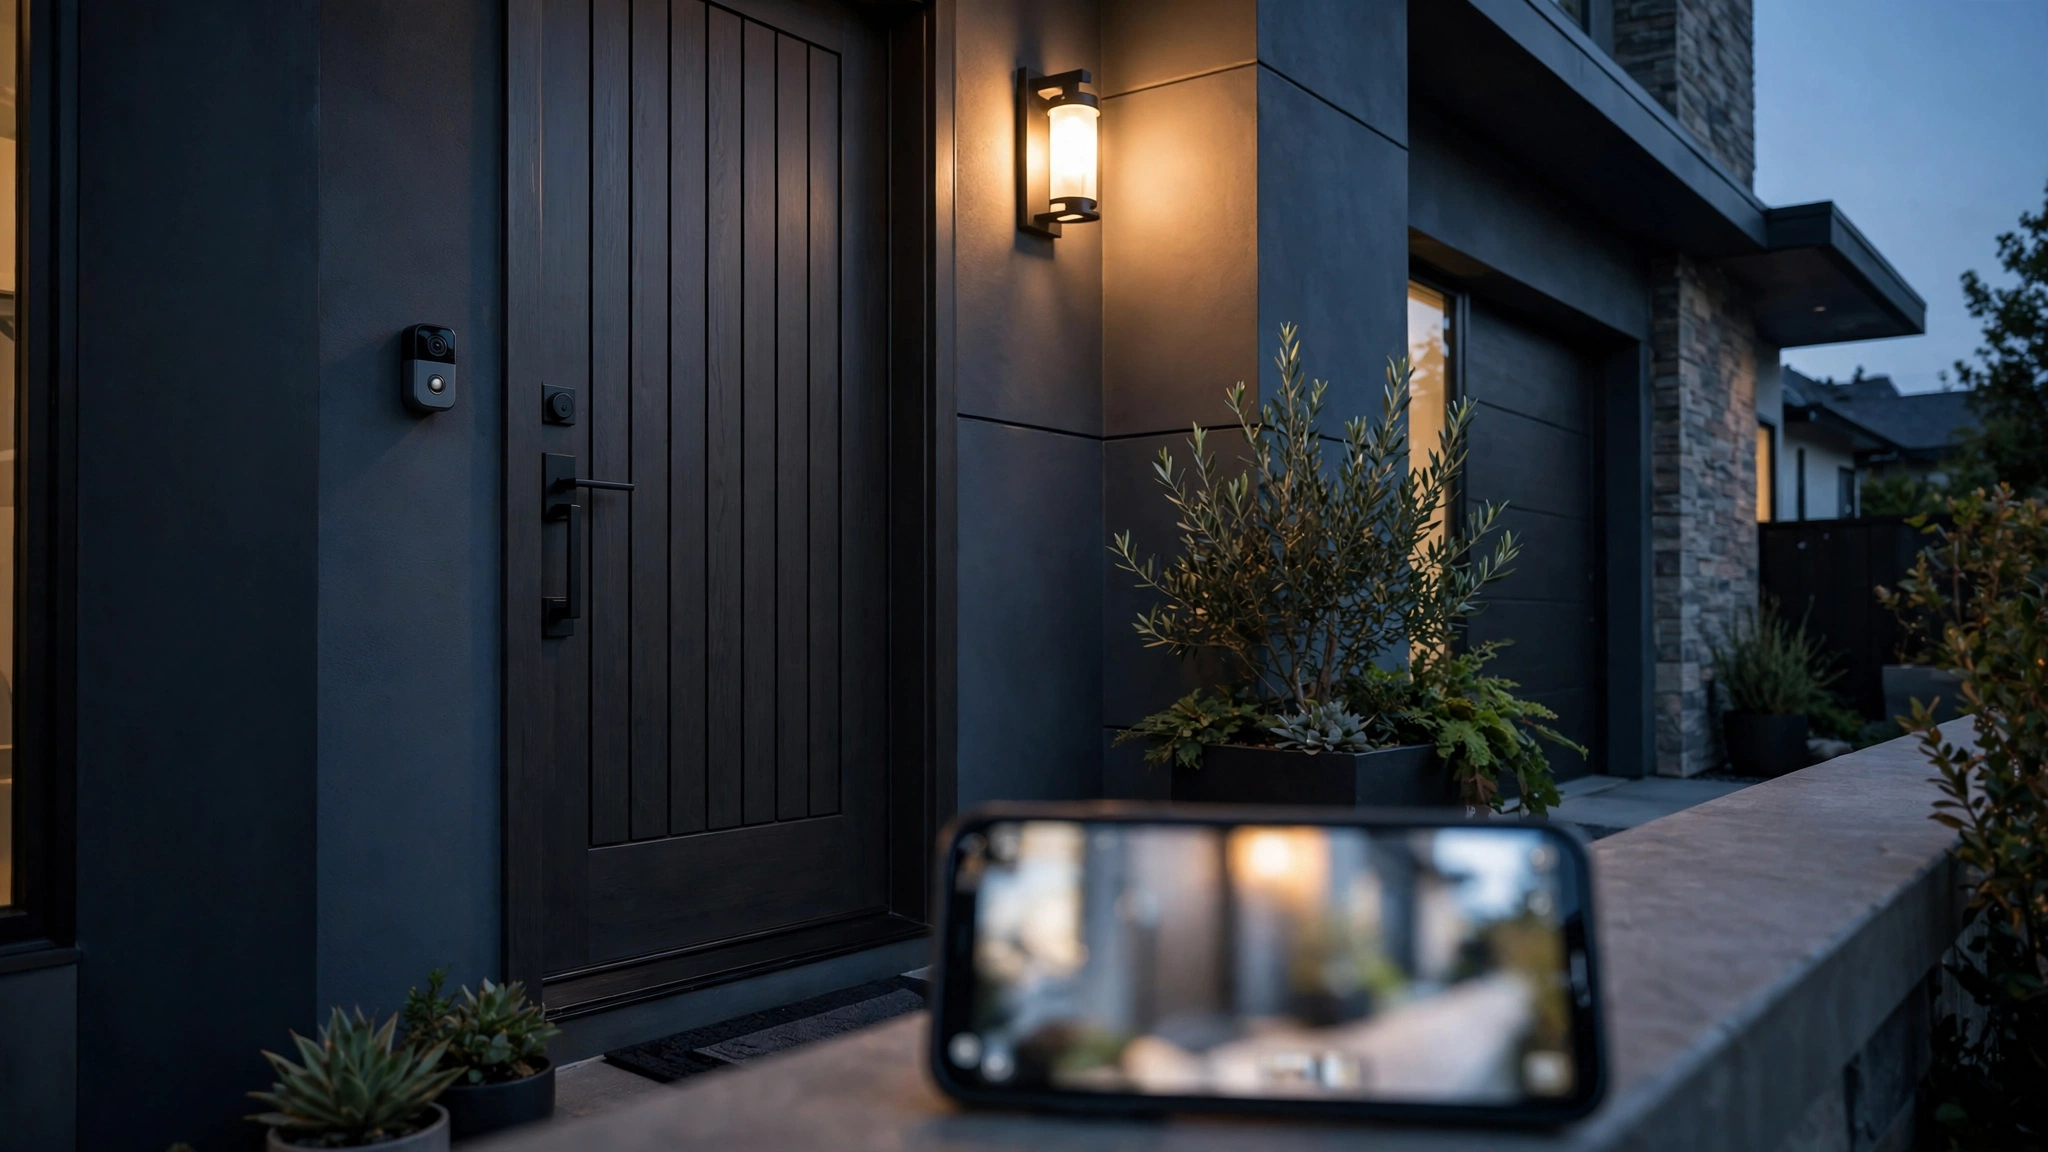
A video doorbell answers "who is here" and "did the package arrive" in one device. Mount it where it sees the full doorstep and the approach, not just the person's face. Check the view at night, since porch light and glare change the picture.
Back and side doors
These are often out of sight from the street, which makes them worth a look. One camera covering the door and the path leading to it is usually more useful than two cameras aimed at the same yard.
Garage and driveway
If you store tools, bikes or a car, cover the garage door and the approach. A camera inside the garage can also tell you whether the door was left open.
Ground-floor windows
Rather than cameras on every window, consider simple door and window contact sensors for the ones that matter. They are cheaper and less intrusive than video, and they tell you when something opens.
Step 3: Sort out power before you mount anything
Power decides where a camera can go, and it is the step people skip.
- Battery cameras go almost anywhere and need no wiring, which suits renters. You will recharge or swap batteries, and how often depends on the model and how much motion it sees.
- Plug-in cameras need an outlet nearby. Indoor placement is easy; outdoors you need a weather-rated outlet and cable.
- Power over Ethernet (PoE) cameras receive power and send data over one network cable, with a compatible PoE switch or injector. Running cable through finished walls takes planning, so consider whether you can route it neatly along a baseboard or use another power option.
Before drilling, find out whether you are allowed to. Renters should read the lease and ask the landlord; adhesive mounts and window stands avoid damage in many cases.
Step 4: Test the Wi-Fi where the camera will live
A wireless camera is only as dependable as the signal that reaches it. Stand where you plan to mount it and run a speed test on your phone. Then check two things:
- Is the signal steady? Weak or flickering signal causes missed clips and slow live views.
- Can your network handle video? Several cameras uploading at once use real bandwidth, particularly upload speed.
If the spot is weak, move the router, add a mesh node or access point closer, or run a wired connection to it. Thick plaster, brick and old plumbing between rooms are common culprits in older properties. Fix the network first; it makes every device you add afterward work better.
Step 5: Aim for the right view, not the widest one
- Point away from busy sidewalks and streets so you are not recording more than you need.
- Avoid facing the sun, which washes out the picture at sunrise or sunset.
- Keep trees, flags and bushes out of frame to cut false motion alerts.
- Use motion zones to ignore the road, and set a schedule so alerts match when you care.
- Mount high enough to be out of easy reach, but low enough to capture faces.
Step 6: Respect privacy from day one
Good setups protect your property without spying on the people around it.
- Neighbors: keep their windows and yards out of your field of view.
- Tenants and guests: landlords should not put cameras inside rented units or in private spaces. Shared entrances and exterior areas are a different matter, and local rules vary, so check the rules where you live and put the policy in writing.
- Indoor cameras: consider turning them off when you are home, and never place them in bedrooms or bathrooms.
- Audio: recording sound is regulated differently from video in many places. Look up your local rules before enabling it.
Step 7: Lock down the network side
A security camera is a computer on your network, so treat it like one.
- Change default passwords and use a unique one for each account.
- Turn on two-factor authentication for the camera app.
- Keep firmware and apps updated.
- If your router supports it, consider putting cameras and other smart devices on a separate guest or IoT network, apart from your laptops and phones. Check that your cameras and apps still work: guest-network isolation can block local connections.
- Review who has shared access to your cameras, and remove people who no longer need it.
Step 8: Think about what happens when you are away
An empty property tests the whole system. Ask yourself:
- What happens if the power goes out? Is there a battery backup for the router and camera hub?
- What happens if the internet drops? Does the camera record locally, or only to the cloud?
- Who gets the alerts, and who can respond if you cannot?
Answering these now is much easier than discovering the gaps while you are traveling.
A simple starter plan
- List the two questions you want answered.
- Mark the matching spots on a sketch of the property.
- Choose power type for each spot.
- Test Wi-Fi at each spot and fix weak ones first.
- Buy one device, mount it, adjust the view and alert settings for a week, then add the next.
Growing a setup one device at a time helps you learn what you need before you commit to a whole system.
Want a guided path through this?
Our free course, Smart Home Retrofitting: Networking, Security, and Leak Detection, covers the network, camera and sensor side of upgrading new and older homes, step by step. It is free to take, so you can plan your own setup with the lessons beside you.
