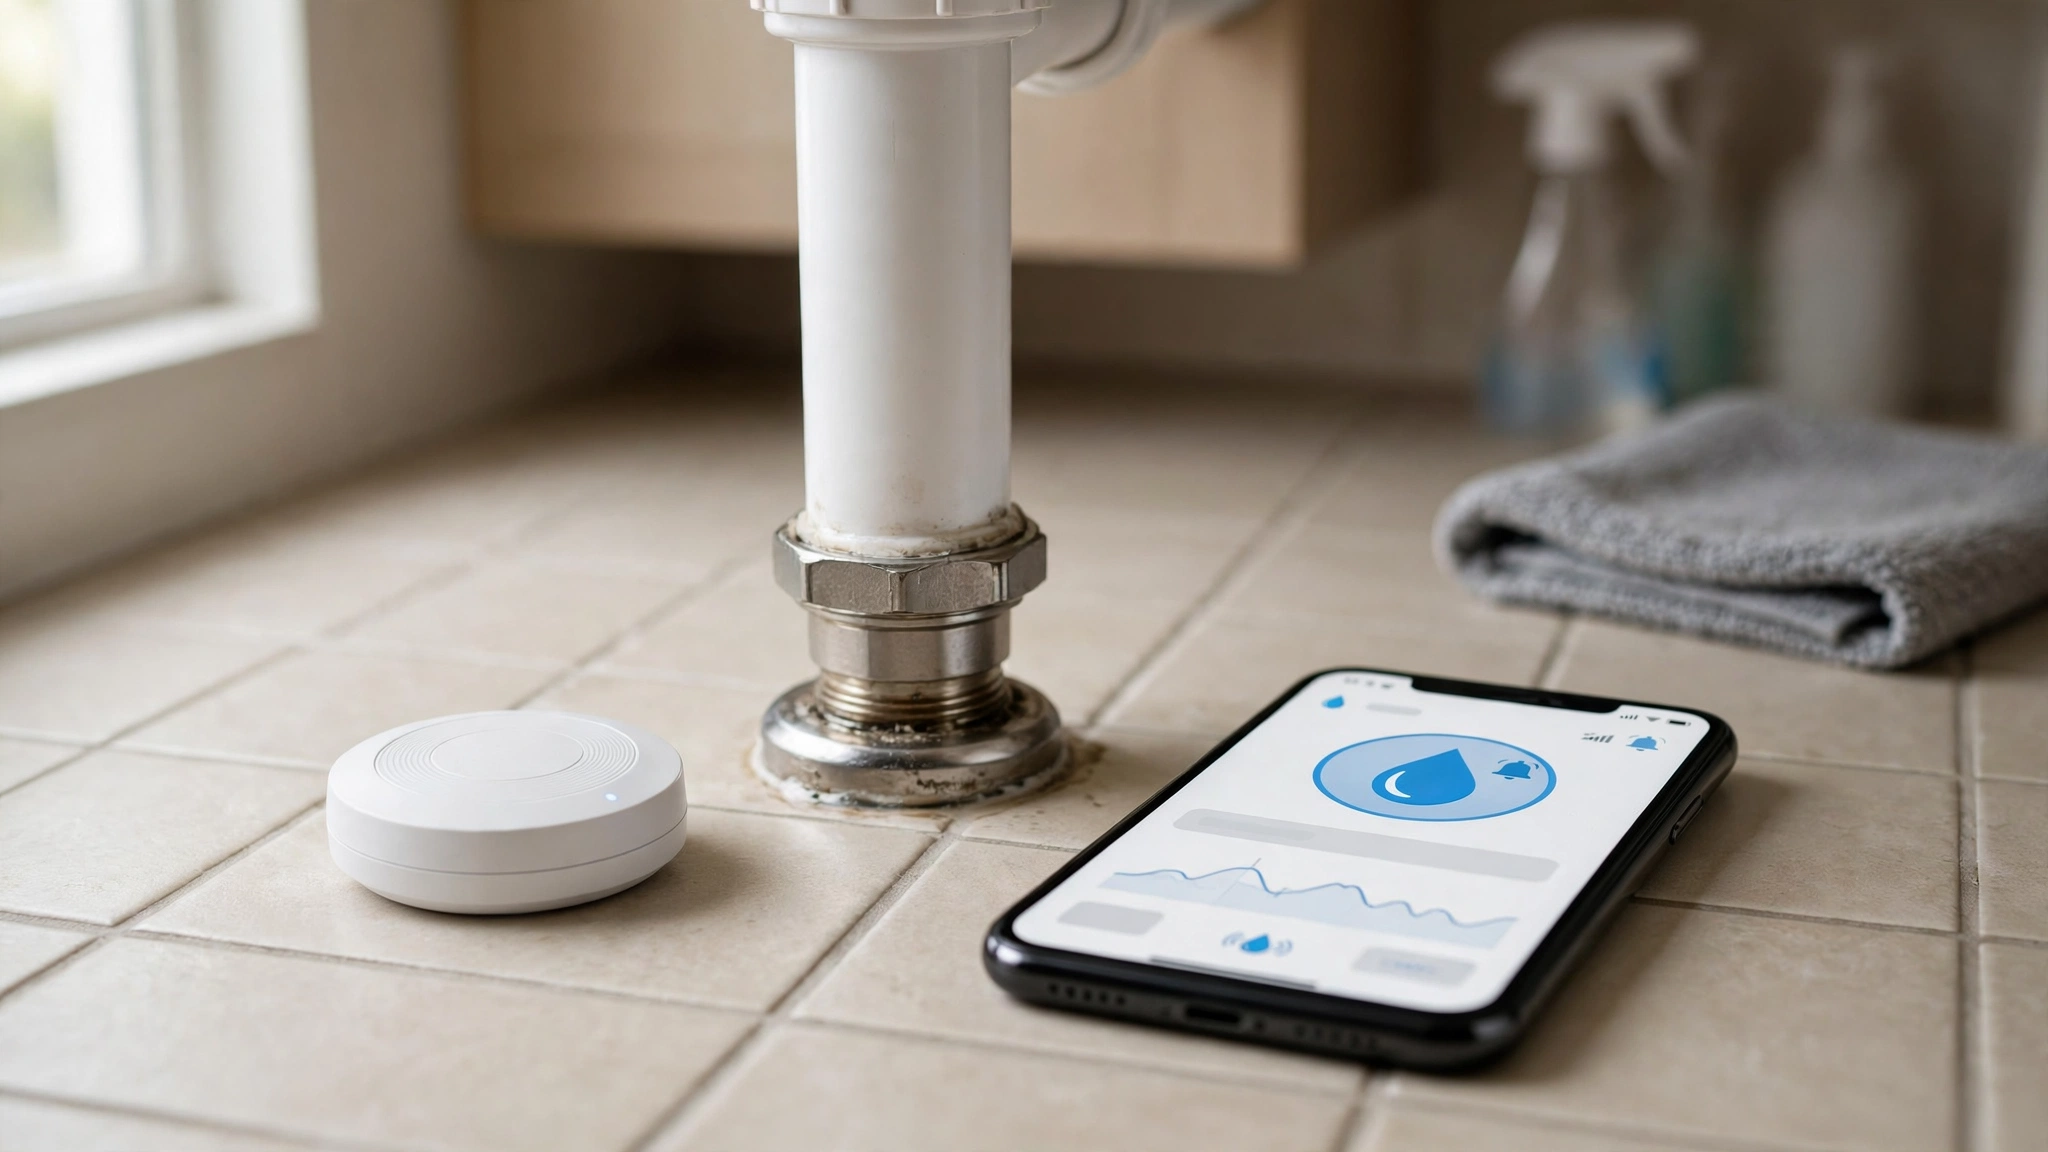
Installing a water leak sensor is the easy part. The harder moment comes at 2 a.m., or from an airport gate, when your phone buzzes with a water alert and you need to decide what to do. A plan helps you find the right valve and contact the right person without losing time.
This post helps you write a short response plan now, while nothing is wet. It works whether you own a new build, manage a rental or rent an older apartment with pipes you did not choose.
Step 1: Find and test your shutoff valves
An alert tells you water is where it should not be. The valve is how you stop it. Know where these are before you need them:
- The main water shutoff for the whole property. Common spots include a basement wall, a utility closet, a garage or near the water meter. Identify the homeowner-operated valve; do not operate utility-owned valves.
- Fixture shutoffs under sinks and behind toilets, which stop one fixture without cutting water to the whole home.
- Appliance supply valves for the washing machine, dishwasher, ice maker and water heater.
If you are authorized to operate a valve, check it gently in advance. Old valves can seize or leak when they are used. If one is stuck, corroded or leaking, do not force it; ask a plumber for help. Label the valves so a guest, tenant or family member can find them fast.
Step 2: Decide who gets the alert
A sensor that only notifies you is a single point of failure. Decide ahead of time who else should know:
- Homeowners: add a partner, a family member or a neighbor who can reach the house if you are away.
- Landlords: agree with tenants on who receives alerts and who is allowed to enter, and put it in writing. Check your local rules and your lease on notice and entry.
- Renters: tell your landlord or property manager you are using sensors, and ask whom to call after hours.
Some smart home apps let you share a device or send alerts to more than one phone. Follow the sensor manufacturer's test instructions and confirm each person's notification arrives.
Step 3: Write the first five minutes
Keep the plan short enough to read while your heart rate is up. A simple version:
- Check the alert. Which sensor fired, and where is it? A sensor under the kitchen sink points you to a different problem than one by the water heater.
- If you are home, look first. Stay safe. If water is near outlets, appliances or a ceiling that is bulging, stay clear, turn off power to that area at the breaker only if you can reach it dry and safely, and call a professional.
- Stop the water. Close the fixture or appliance shutoff if the source is obvious. If it is not, close the main.
- Contain it. Once the area is safe, move belongings off the floor and use towels to soak up water. Do not use electrical equipment in water or a wet area where there may be an electrical hazard; call a professional if you are unsure.
- Document it. Take photos and short videos of the source and the damage before you clean up. You may want them for insurance or for a landlord.
- Call the right person. A plumber for the source, your insurer or landlord for damage.
Step 4: Plan for when you are away
Empty properties are where a small leak becomes a large one. If you are traveling or managing a vacant unit, your plan needs a remote step:
- Pick a person with a key who can respond, and tell them where the main shutoff is.
- If you use a smart shutoff valve, read what it does when the sensor triggers and when the Wi-Fi drops. Decide whether you want it to close automatically or ask you first.
- Keep a plumber's number saved in the same note as your plan.
Whether a smart valve fits your home depends on your plumbing, your budget and whether you are allowed to alter the pipes. Renters should not modify plumbing without the landlord's approval.
Step 5: Make sure the alert can actually reach you
A response plan fails if the notification never shows up. Check the basics:
- Wi-Fi or hub range. Sensors in basements, garages and utility rooms often sit at the edge of your network. If a sensor drops offline in a thick-walled area, the alert cannot get out. A mesh node or a hub closer to that room can help.
- Battery status. Set a reminder to check batteries on a schedule, and look at what your app reports about offline devices.
- Phone settings. Allow notifications for the app, and let critical alerts override Do Not Disturb if your phone supports it, so a night-time alert is not silenced.
- A loud local alarm. Some sensors sound a siren on the spot, which helps when someone is home but not looking at a phone.
Step 6: Run a ten-minute drill
Once your plan is written, test it end to end:
- Test a sensor using the manufacturer's instructions.
- Confirm every person on your list gets the alert.
- Walk to the main shutoff and fixture valves to make sure everyone knows where they are. If a valve is stuck, corroded or leaking, ask a plumber for help rather than forcing it.
- Fix anything that failed, then repeat after any change to your Wi-Fi, router or app.
Repeat the drill when you change routers, add a hub or replace sensors.
Keep the plan where people can find it
Put a printed copy on the inside of a utility closet door or near the main valve. Add a note to your phone. If you rent the property out, include it in your welcome packet. A response plan is only helpful when the person on site can find it quickly.
Keep learning
If you are still deciding which sensors and network setup suit your home, the free course Smart Home Retrofitting: Networking, Security, and Leak Detection walks through planning reliable Wi-Fi, connecting devices and setting up leak monitoring in new and older properties. Start the free course.
