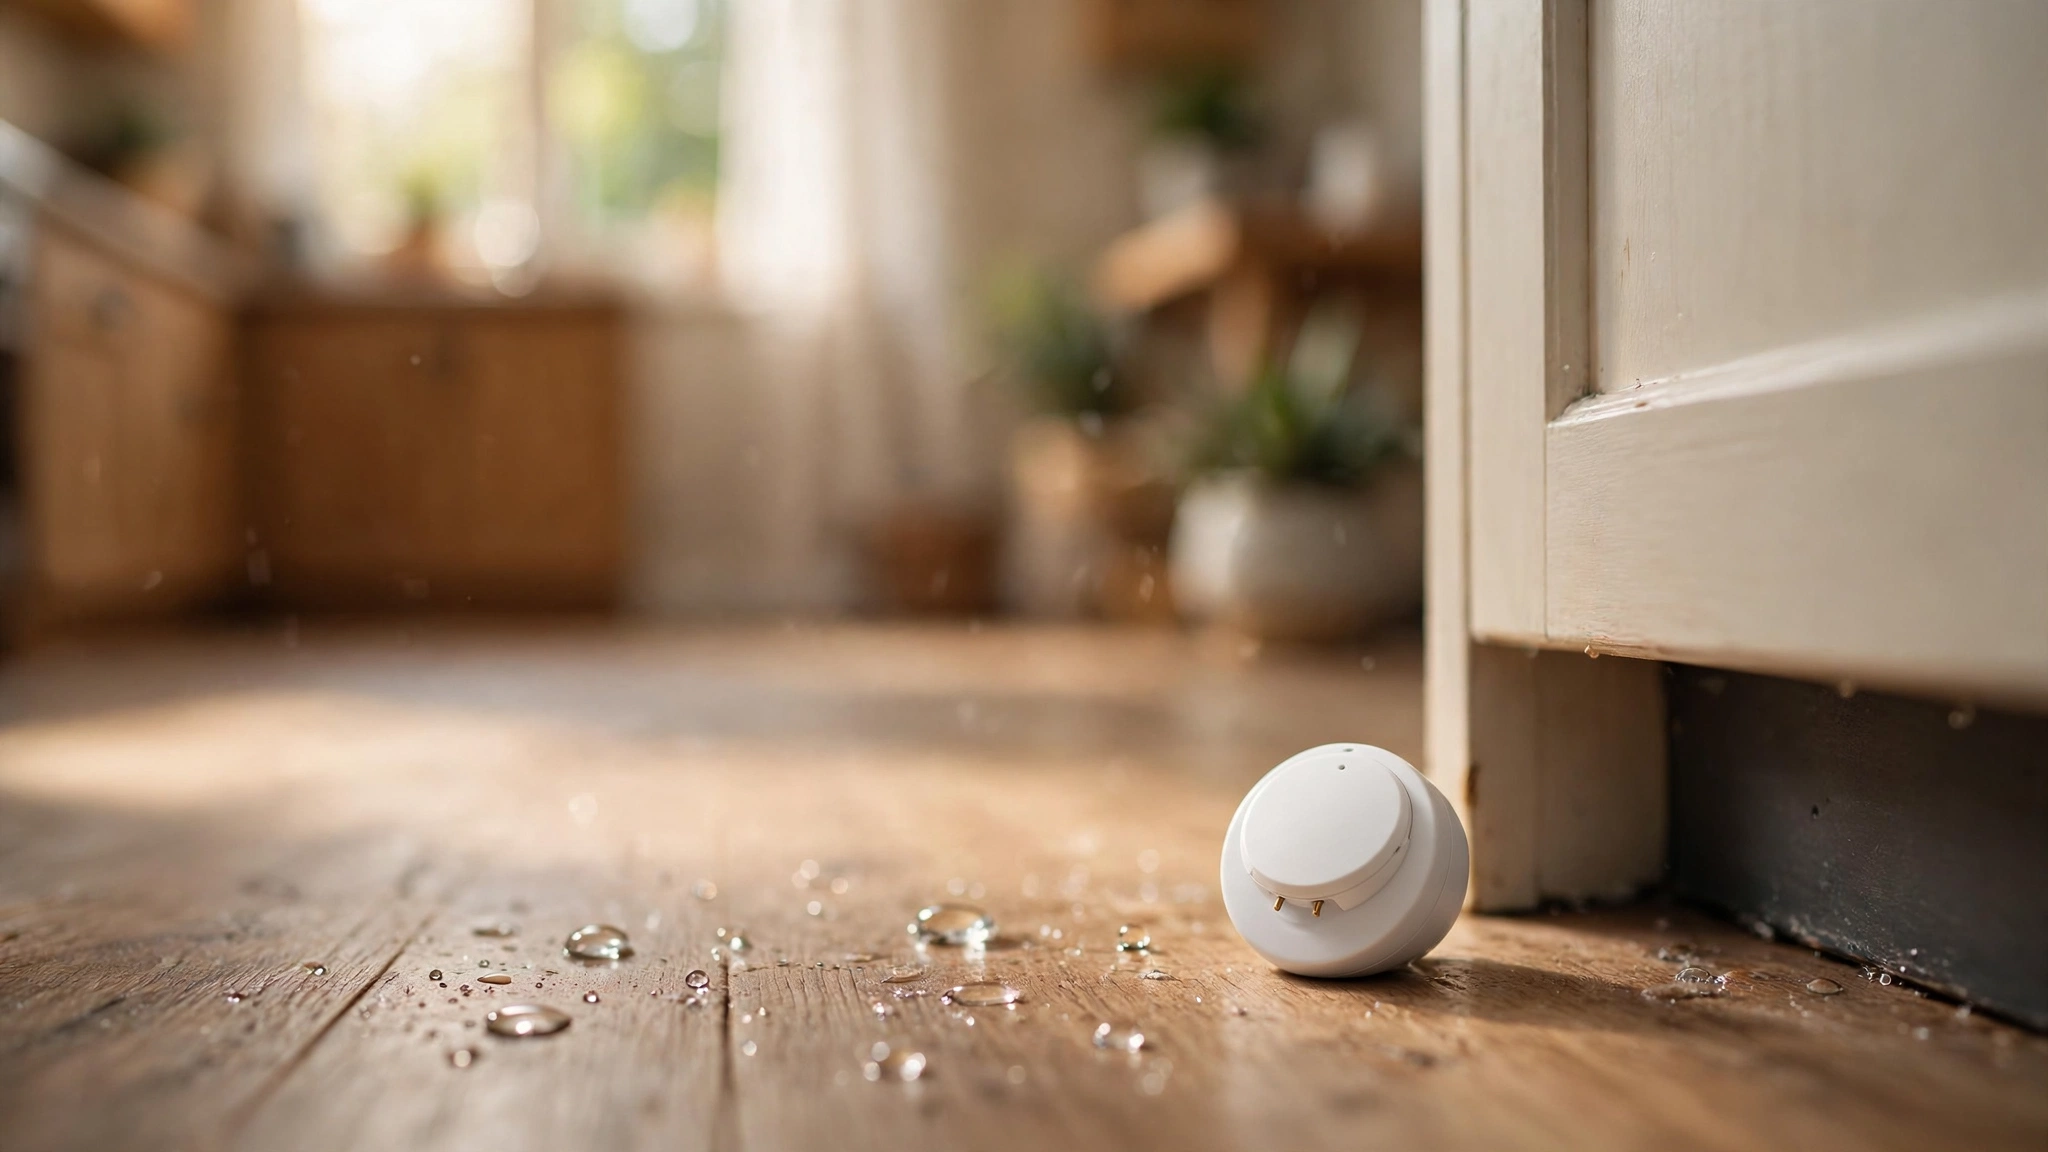
A leak sensor is one of the easiest smart home upgrades to install. You peel off any backing, set it down and pair it with your hub or app. No drilling, no wiring, no contractor. The part that decides whether it ever helps you is where you put it.
A contact sensor detects water when it reaches the sensing contacts, whether those are on the device or a connected probe. Place it a few feet from the source and a slow drip can spread under a cabinet for a long time before it reaches the sensor. The goal is to put each one where water from a specific appliance or pipe is likely to collect first.
Start with the places water already lives
Look for any spot with a supply line, a drain line, a tank or a hose connection. These are the usual starting points, in rough order of how often people check them:
Under the kitchen sink
Set the sensor flat on the floor of the cabinet, near the supply valves and the P-trap. If the cabinet floor slopes, put it on the low side. Cleaning products and old sponges can sit on top of it, so keep the spot clear.
Behind the dishwasher and the fridge
A dishwasher hose or a fridge ice-maker line can leak where you never look. If you can slide the appliance out, place a sensor on the floor at the water inlet side. If you cannot, a sensor with a cable probe can reach under the front edge.
Next to the washing machine
Supply hoses and the drain connection both sit behind the machine. Place one sensor on the floor beside the hoses. If the machine sits in a drain pan, put the sensor inside the pan.
Beside the water heater
Tanks leak at the base, at the relief valve and at the fittings. Put the sensor on the floor close to the base, on the side where the floor slopes toward the drain, if there is one.
Around toilets and bathroom sinks
The supply line and the wax ring are the two weak points. Place a sensor on the floor behind the toilet, between the tank and the wall. Do the same under bathroom vanities.
Basement and utility room low points
If your basement or crawl space ever takes on water, put a sensor at the lowest corner and near the sump pump if you have one. In an older property, add one by the main shutoff and the point where the supply line enters the house.
Think about the places you do not visit
If you rent out a property, manage a second home or travel often, the most valuable sensors are in the rooms nobody walks into daily. A leak in an occupied kitchen gets noticed. A leak in a vacant unit, a guest bathroom or a utility closet does not. Put sensors there first, and check that your alerts reach a phone that is not at the property.
Match the sensor to the room
- Battery-powered Wi-Fi sensors are simple to set up, but they depend on a strong signal where you place them. Basements and utility rooms often have the weakest coverage in the house, so test the connection at the exact spot before you rely on it.
- Zigbee or Z-Wave sensors connect through a hub and can reach places Wi-Fi struggles with, as long as a hub or a repeating device is within range.
- Cable-probe sensors suit tight spots, such as behind an appliance or in a drain pan.
- Sensors with a loud built-in siren help when someone is home, but they do nothing for an empty house unless they also send a phone alert.
Renters and landlords: check before you stick anything down
Most leak sensors sit loose on the floor, which makes them a good fit for renters. If a sensor needs adhesive, use a removable option and tell your landlord what you installed. Landlords can add sensors between tenancies, then agree with tenants on who receives the alerts and who calls the plumber.
Test after you place each one
- Pair the sensor and confirm the app shows it online.
- Follow the manufacturer's test instructions, such as touching the sensing contacts with a damp paper towel.
- Check that the alert reaches your phone and that anyone else you named gets it too.
- Dry the sensor, set it in position and note its location in the app by room and appliance.
- Check the battery status on a schedule you will actually keep, such as when the clocks change.
A sensor tells you. It does not stop the water.
A sensor sends an alert. To shut the water off on its own, you need an automatic shutoff valve, which is a bigger upgrade and often best done with a plumber. Start with sensors, learn where your risk points are, then decide whether a valve is worth adding.
Plan the whole system, not just one device
Leak sensors need a reliable connection to their hub or network wherever you place them. Choose compatible devices and check coverage alongside your cameras and other security equipment. That is the thinking behind our free course, Smart Home Retrofitting: Networking, Security, and Leak Detection. It covers how to plan Wi-Fi coverage, choose compatible devices and add leak detection to new and older homes without a renovation.
Take the free course and map your first sensors with a plan in hand.
