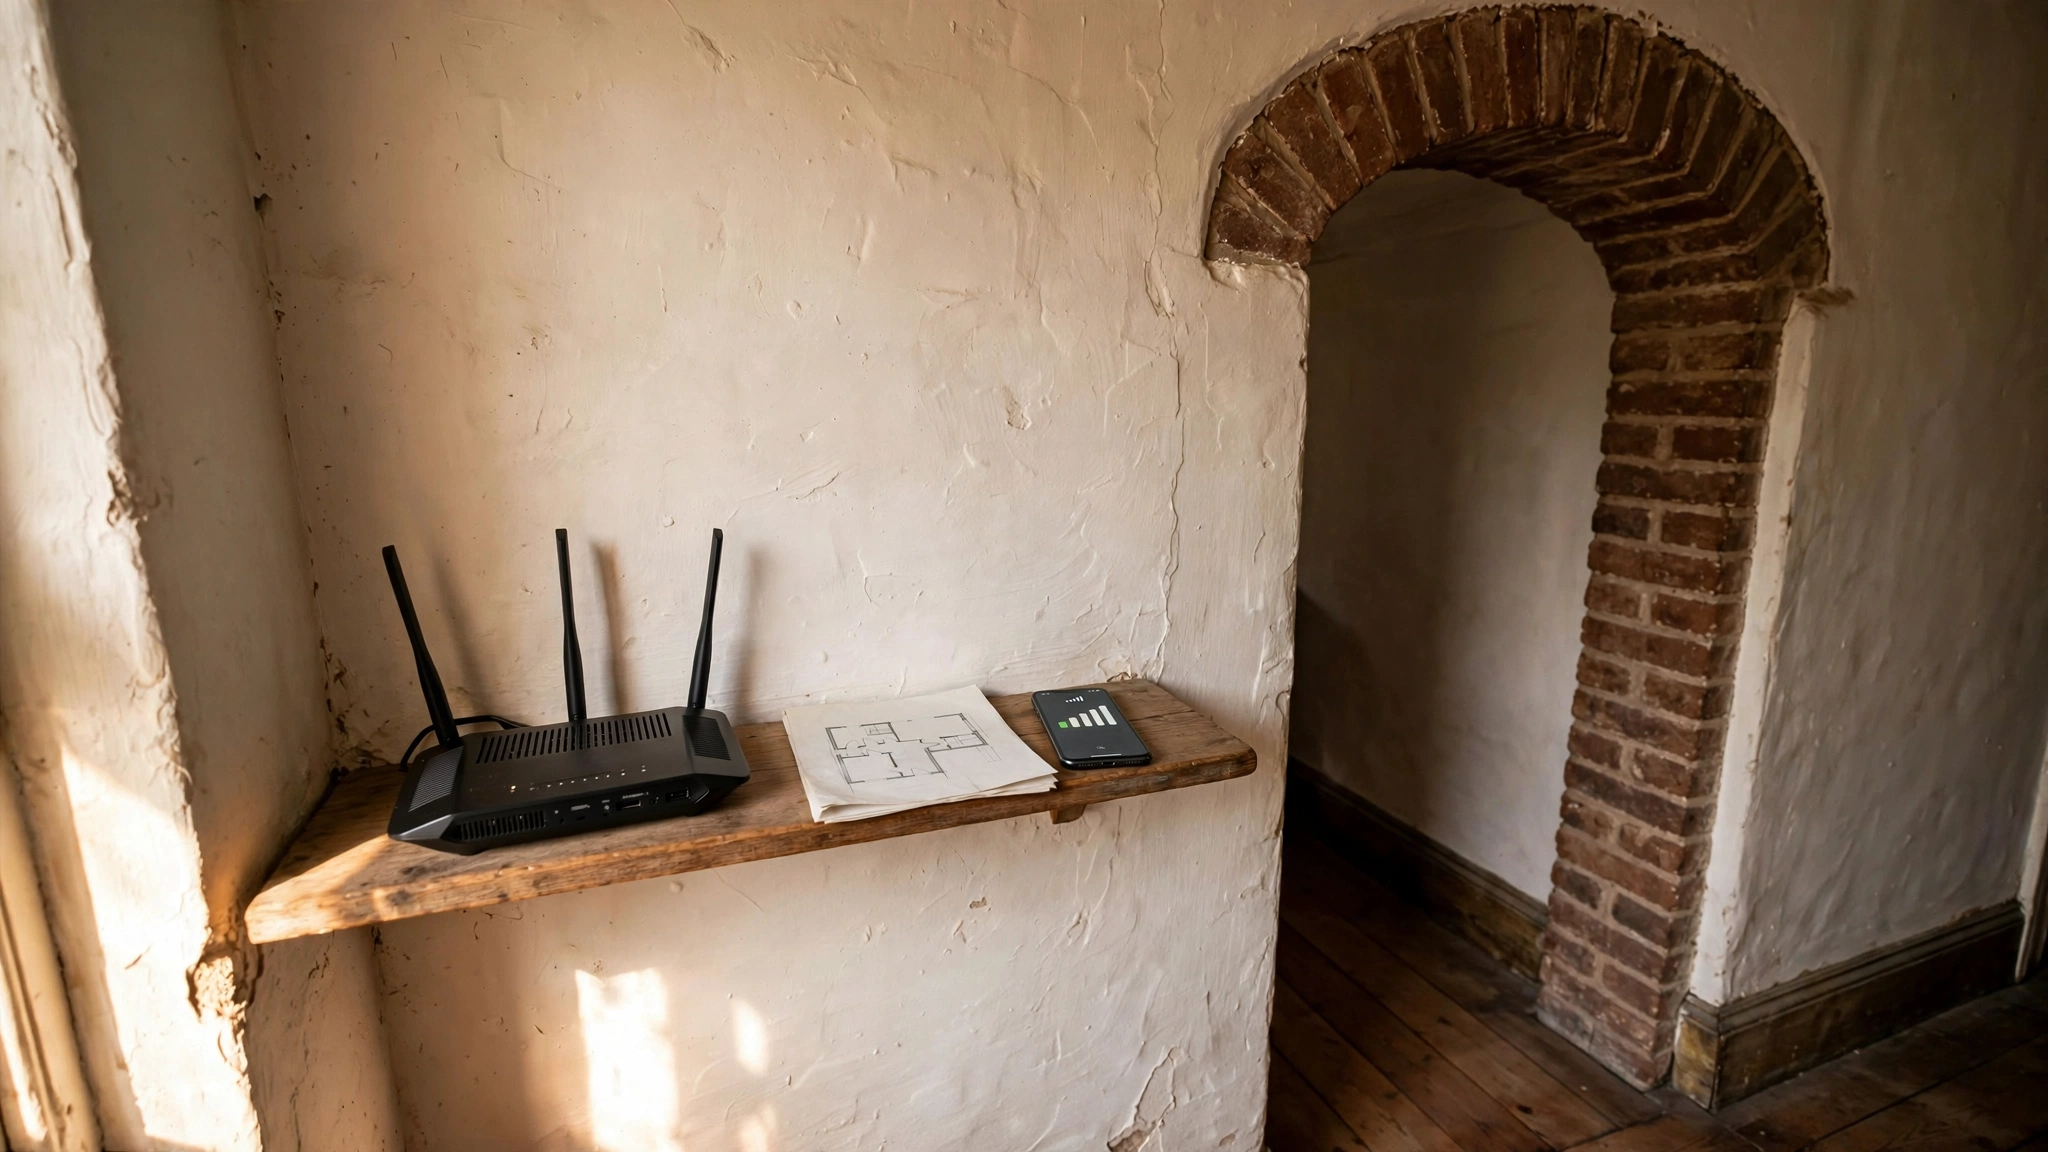
The router often sits where the internet provider's cable came in, whether that's a basement corner, a hallway closet or the back of the living room. In a modern open-plan house, that spot might be fine. In an older home with thick walls, it often means the signal has to fight through half the building before it reaches your bedroom, your garage or the camera on the porch.
Dead zones are not bad luck. They have causes you can find, and most of them can be fixed without a renovation. If you are planning smart-home upgrades such as cameras or leak detectors, this matters even more: Wi-Fi devices need a reliable connection, and devices that use a separate hub need a reliable link to that hub.
What actually blocks Wi-Fi in older homes
Wi-Fi is a radio signal, and some building materials absorb or reflect it far more than ordinary drywall. Watch for these:
- Brick, stone and concrete. Dense masonry walls and floors weaken the signal sharply, and each one it crosses weakens it further.
- Plaster over metal lath. Many older homes have it. The metal mesh behind the plaster reflects radio signals.
- Foil-backed insulation and metal. Foil facing, metal ducts, steel beams and large metal appliances all get in the way.
- Water. Water tanks, heating pipes and radiators absorb signal. A router tucked behind a hot water cylinder is working against itself.
- Mirrors and large glass. They reflect signal in directions you did not plan for.
Step 1: Map the problem before you buy anything
Many people respond to a dead zone by buying a bigger router or an extender. Spend ten minutes mapping first.
- Sketch a rough floor plan of every level, including the basement, attic and any outbuildings.
- Mark where the router is and where you want coverage: bedrooms, home office, garage, porch, utility room.
- Walk each room with your phone and a free Wi-Fi speed test app. Note where the connection drops or slows.
- Mark the thick walls, chimney stacks and floors that sit between the router and each weak spot.
You will usually see a pattern. The weak spots line up behind one or two heavy walls, or sit two floors from the router. That pattern tells you what to fix.
Step 2: Move the router before you add hardware
The cheapest fix is often a different location for the router you already own.
- Go central. Put it as close to the middle of the living space as the incoming cable allows, not in a corner.
- Go high. A shelf or the top of a cabinet beats the floor.
- Go open. Keep it out of cupboards, away from metal, and clear of the microwave, large appliances and water tanks.
- Point the antennas sensibly. If your router has adjustable antennas, a mix of vertical and slightly angled positions can help cover different floors.
If you have a separate modem and router, a longer Ethernet cable can connect them while allowing the router to sit in a better location. If they are combined in one unit, a wired access point or mesh node can bring coverage closer to where you need it. A cable can run along a baseboard or door frame instead of through a wall.
Step 3: Choose the right kind of extension
If moving the router is not enough, you need more access points. The method you pick decides how well they work.
| Option | How it works | Best for |
|---|---|---|
| Mesh system with wired backhaul | Extra nodes connect back to the router by Ethernet cable | The most reliable result in difficult buildings |
| Mesh system, wireless | Nodes talk to each other over radio | Medium homes where each node still has a good link to the next |
| Powerline or coax adapters | Network signal travels over existing electrical wiring or TV coax | Rooms where running a new cable is not practical, though results depend on the home's wiring |
| Simple plug-in range extender | Repeats the router's signal | A single nearby weak spot, though it generally halves available speed on that link |
One rule helps in thick-walled homes: place a wireless node where it still gets a strong signal, not in the dead zone itself. An extender in a dead zone just repeats a weak signal. Put it about halfway between the router and the weak spot, then test again.
Step 4: Know your two bands
Most routers broadcast on two bands, and they behave differently through walls.
- 2.4 GHz travels farther and passes through walls better, but is slower and more crowded.
- 5 GHz is faster, but loses strength more quickly through walls and floors.
For a streaming laptop near the router, 5 GHz is the right choice. For a camera, sensor or smart plug at the far end of the house, 2.4 GHz is often the better fit, and many smart-home devices only support 2.4 GHz anyway. If your router lets you name the bands separately, doing so helps you connect each device to the right one.
Step 5: Plan for the devices, not just the phones
Smart-home devices make different demands from laptops. Cameras can upload a lot of video, depending on their settings. A leak sensor in a basement or under a sink sends small messages, but needs a reliable connection to your network or its hub. Check whether its app warns you when the device goes offline.
- List every device you plan to add and where it will sit.
- Test the signal at each exact spot with your phone before you drill, glue or commit.
- Hard-wire anything that stays put and uses a lot of data, such as a camera that can take Ethernet, a TV box or a desktop computer. Every wired device frees up airtime for the wireless ones.
- Consider putting smart-home devices on their own network or your router's guest network, separate from laptops and phones, if your router supports it. Check that your devices and apps still work: some need to communicate locally, which guest-network isolation can block.
A quick checklist
- Draw the floor plan and mark the thick walls.
- Walk-test every room and note the weak spots.
- Move the router to a central, raised, open position.
- Add wired nodes where you can, wireless nodes at the halfway point where you cannot.
- Match devices to the right band and test each spot before installing.
- Separate smart-home devices from your personal devices if your router allows it.
Keep going with the free course
Dead zones are a common frustration in older homes, but they are only one part of a connected home. The free course, Smart Home Retrofitting: Networking, Security, and Leak Detection, takes you from a reliable home network through security cameras and leak sensors, with a focus on upgrading new and older properties without disruptive renovations.
